Subfloor preparation before LVT
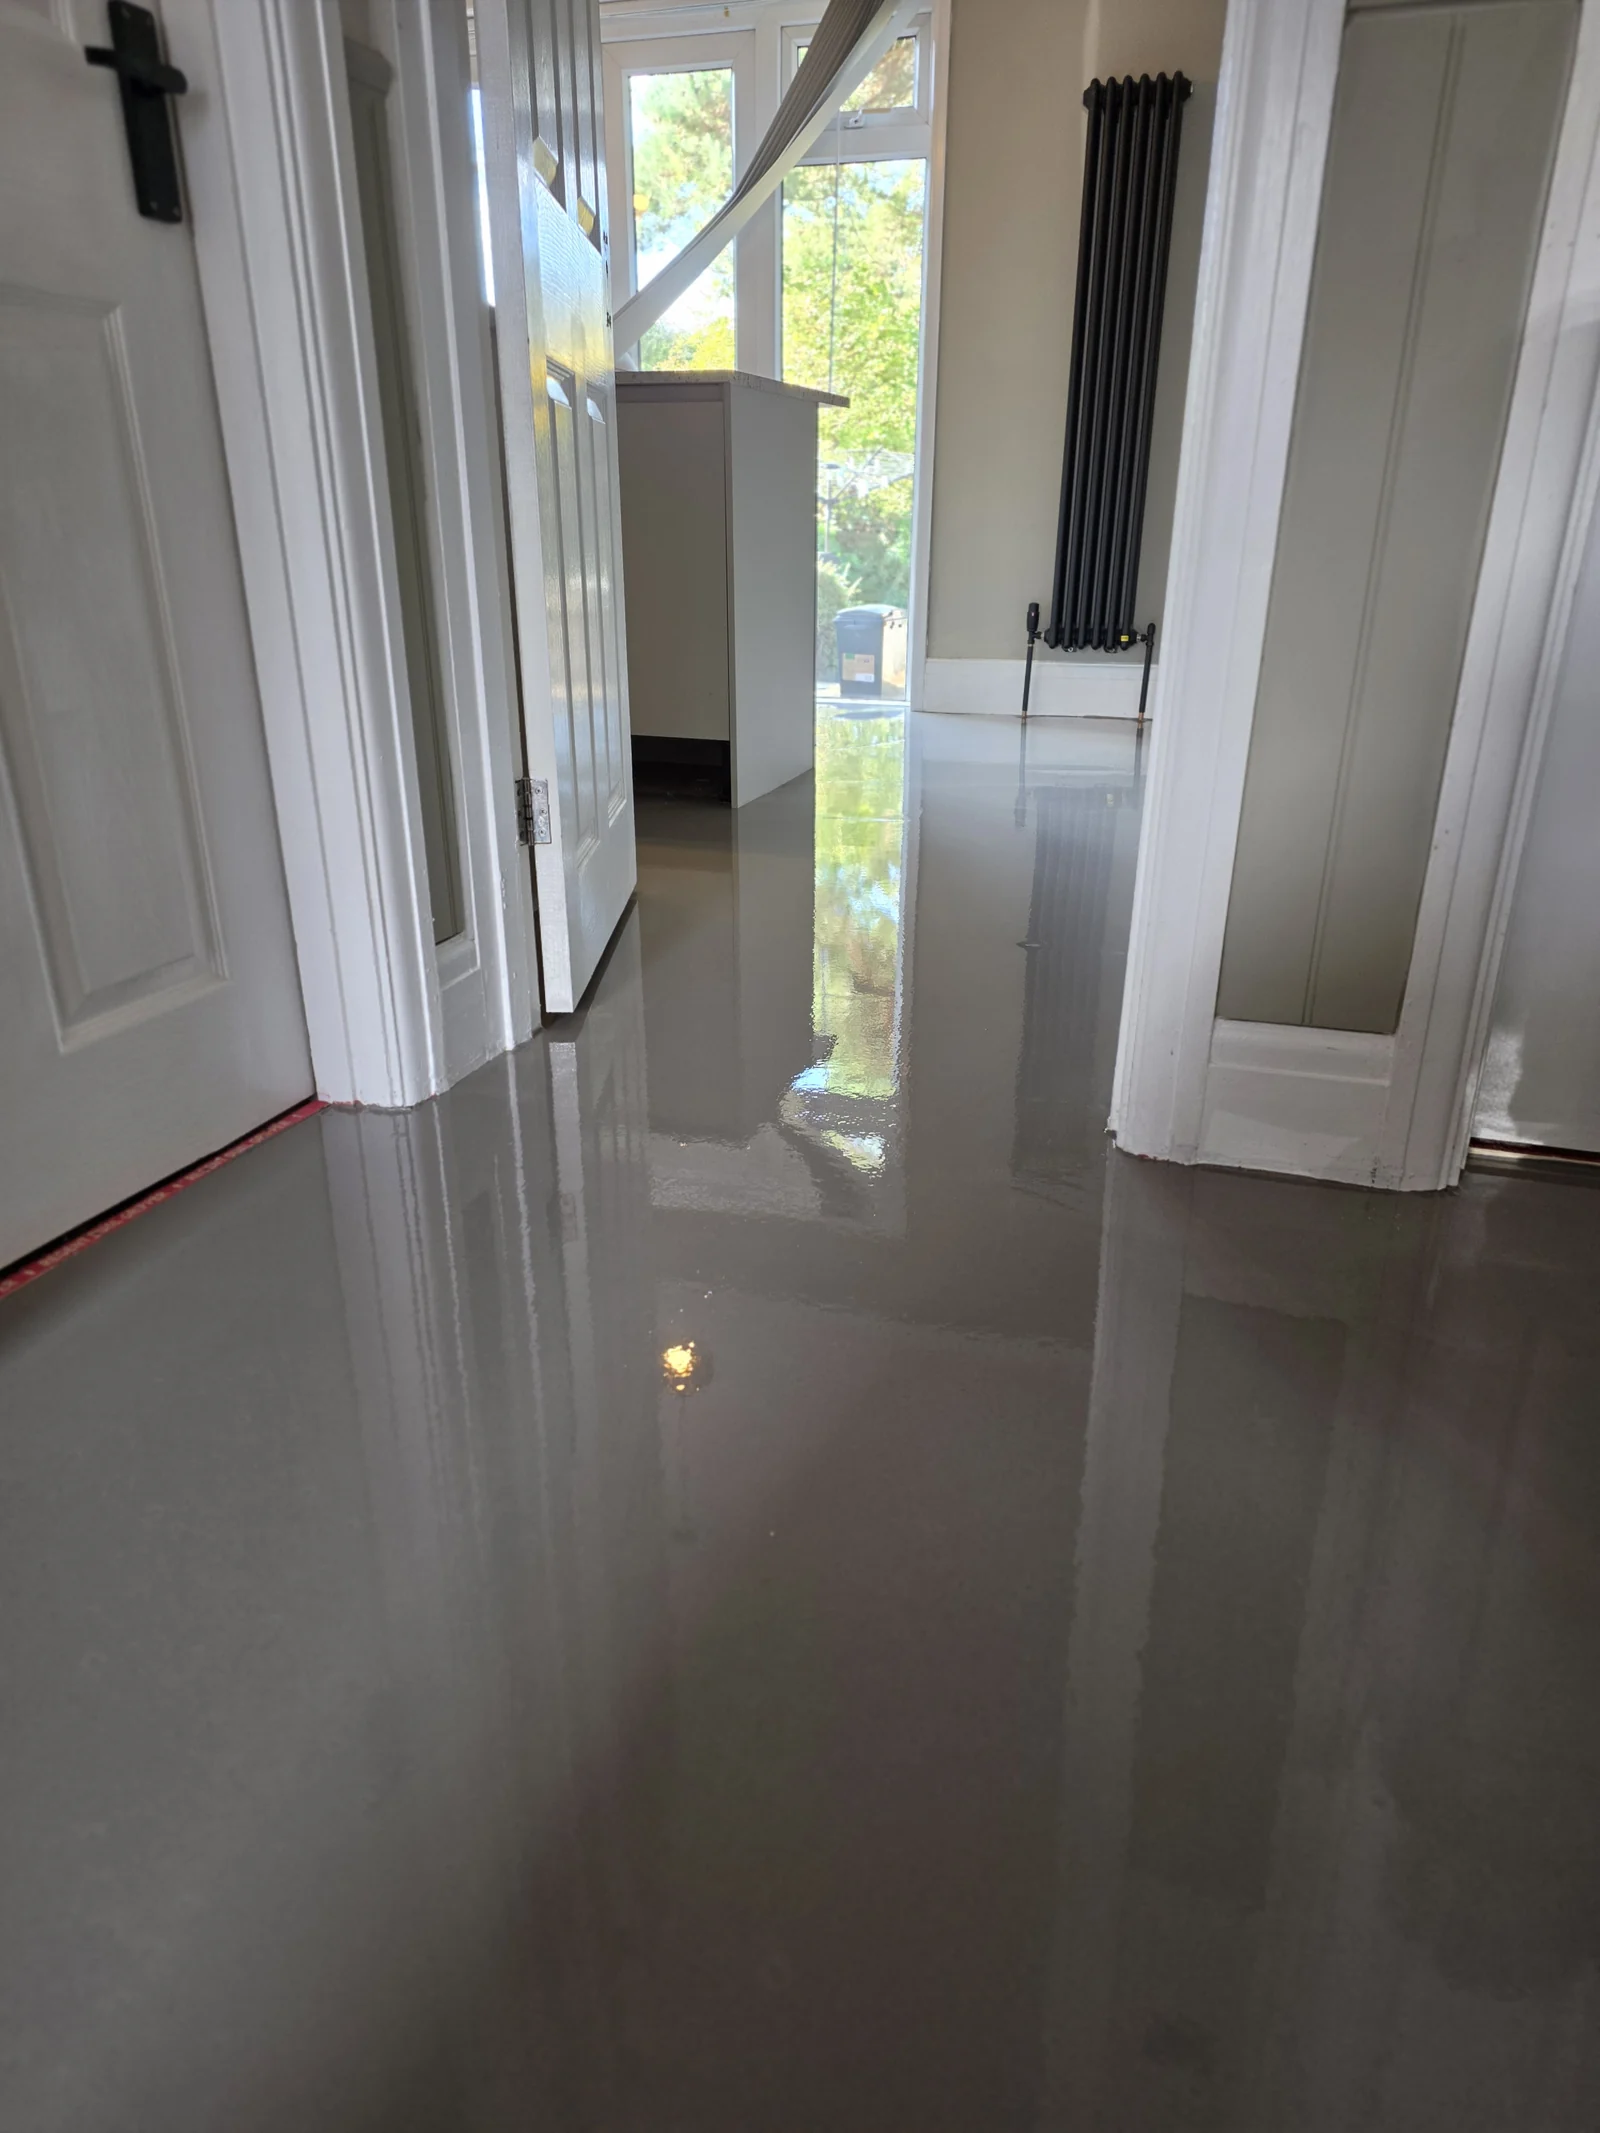
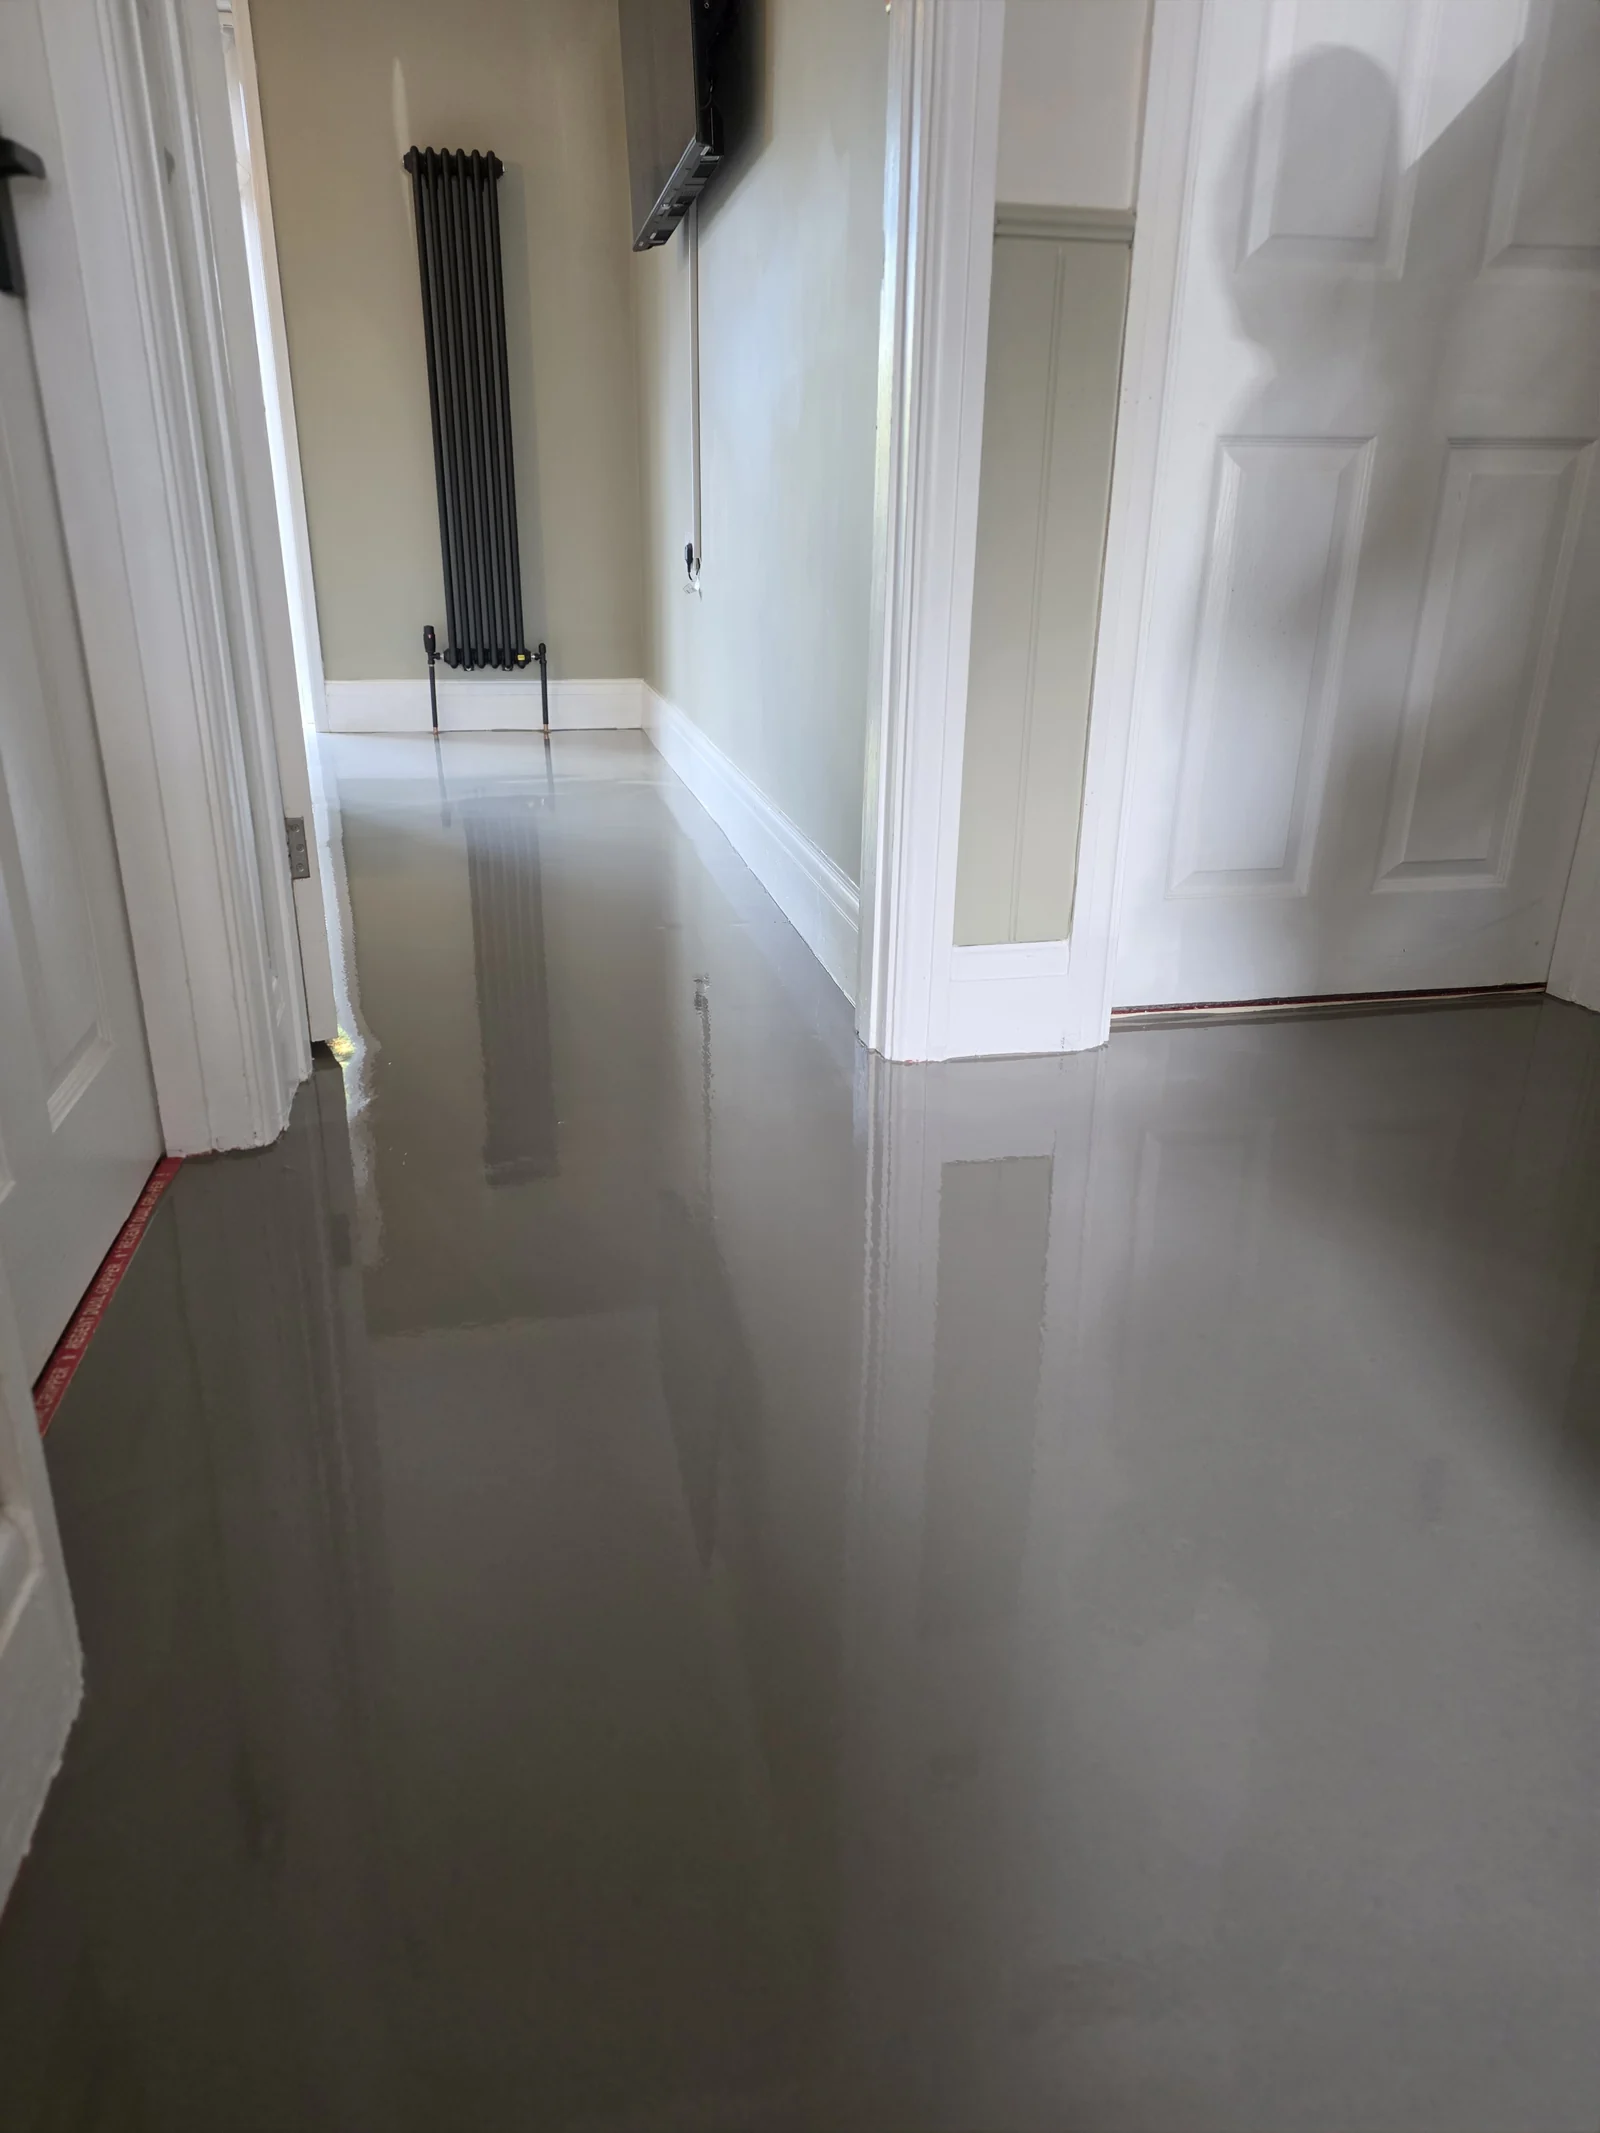
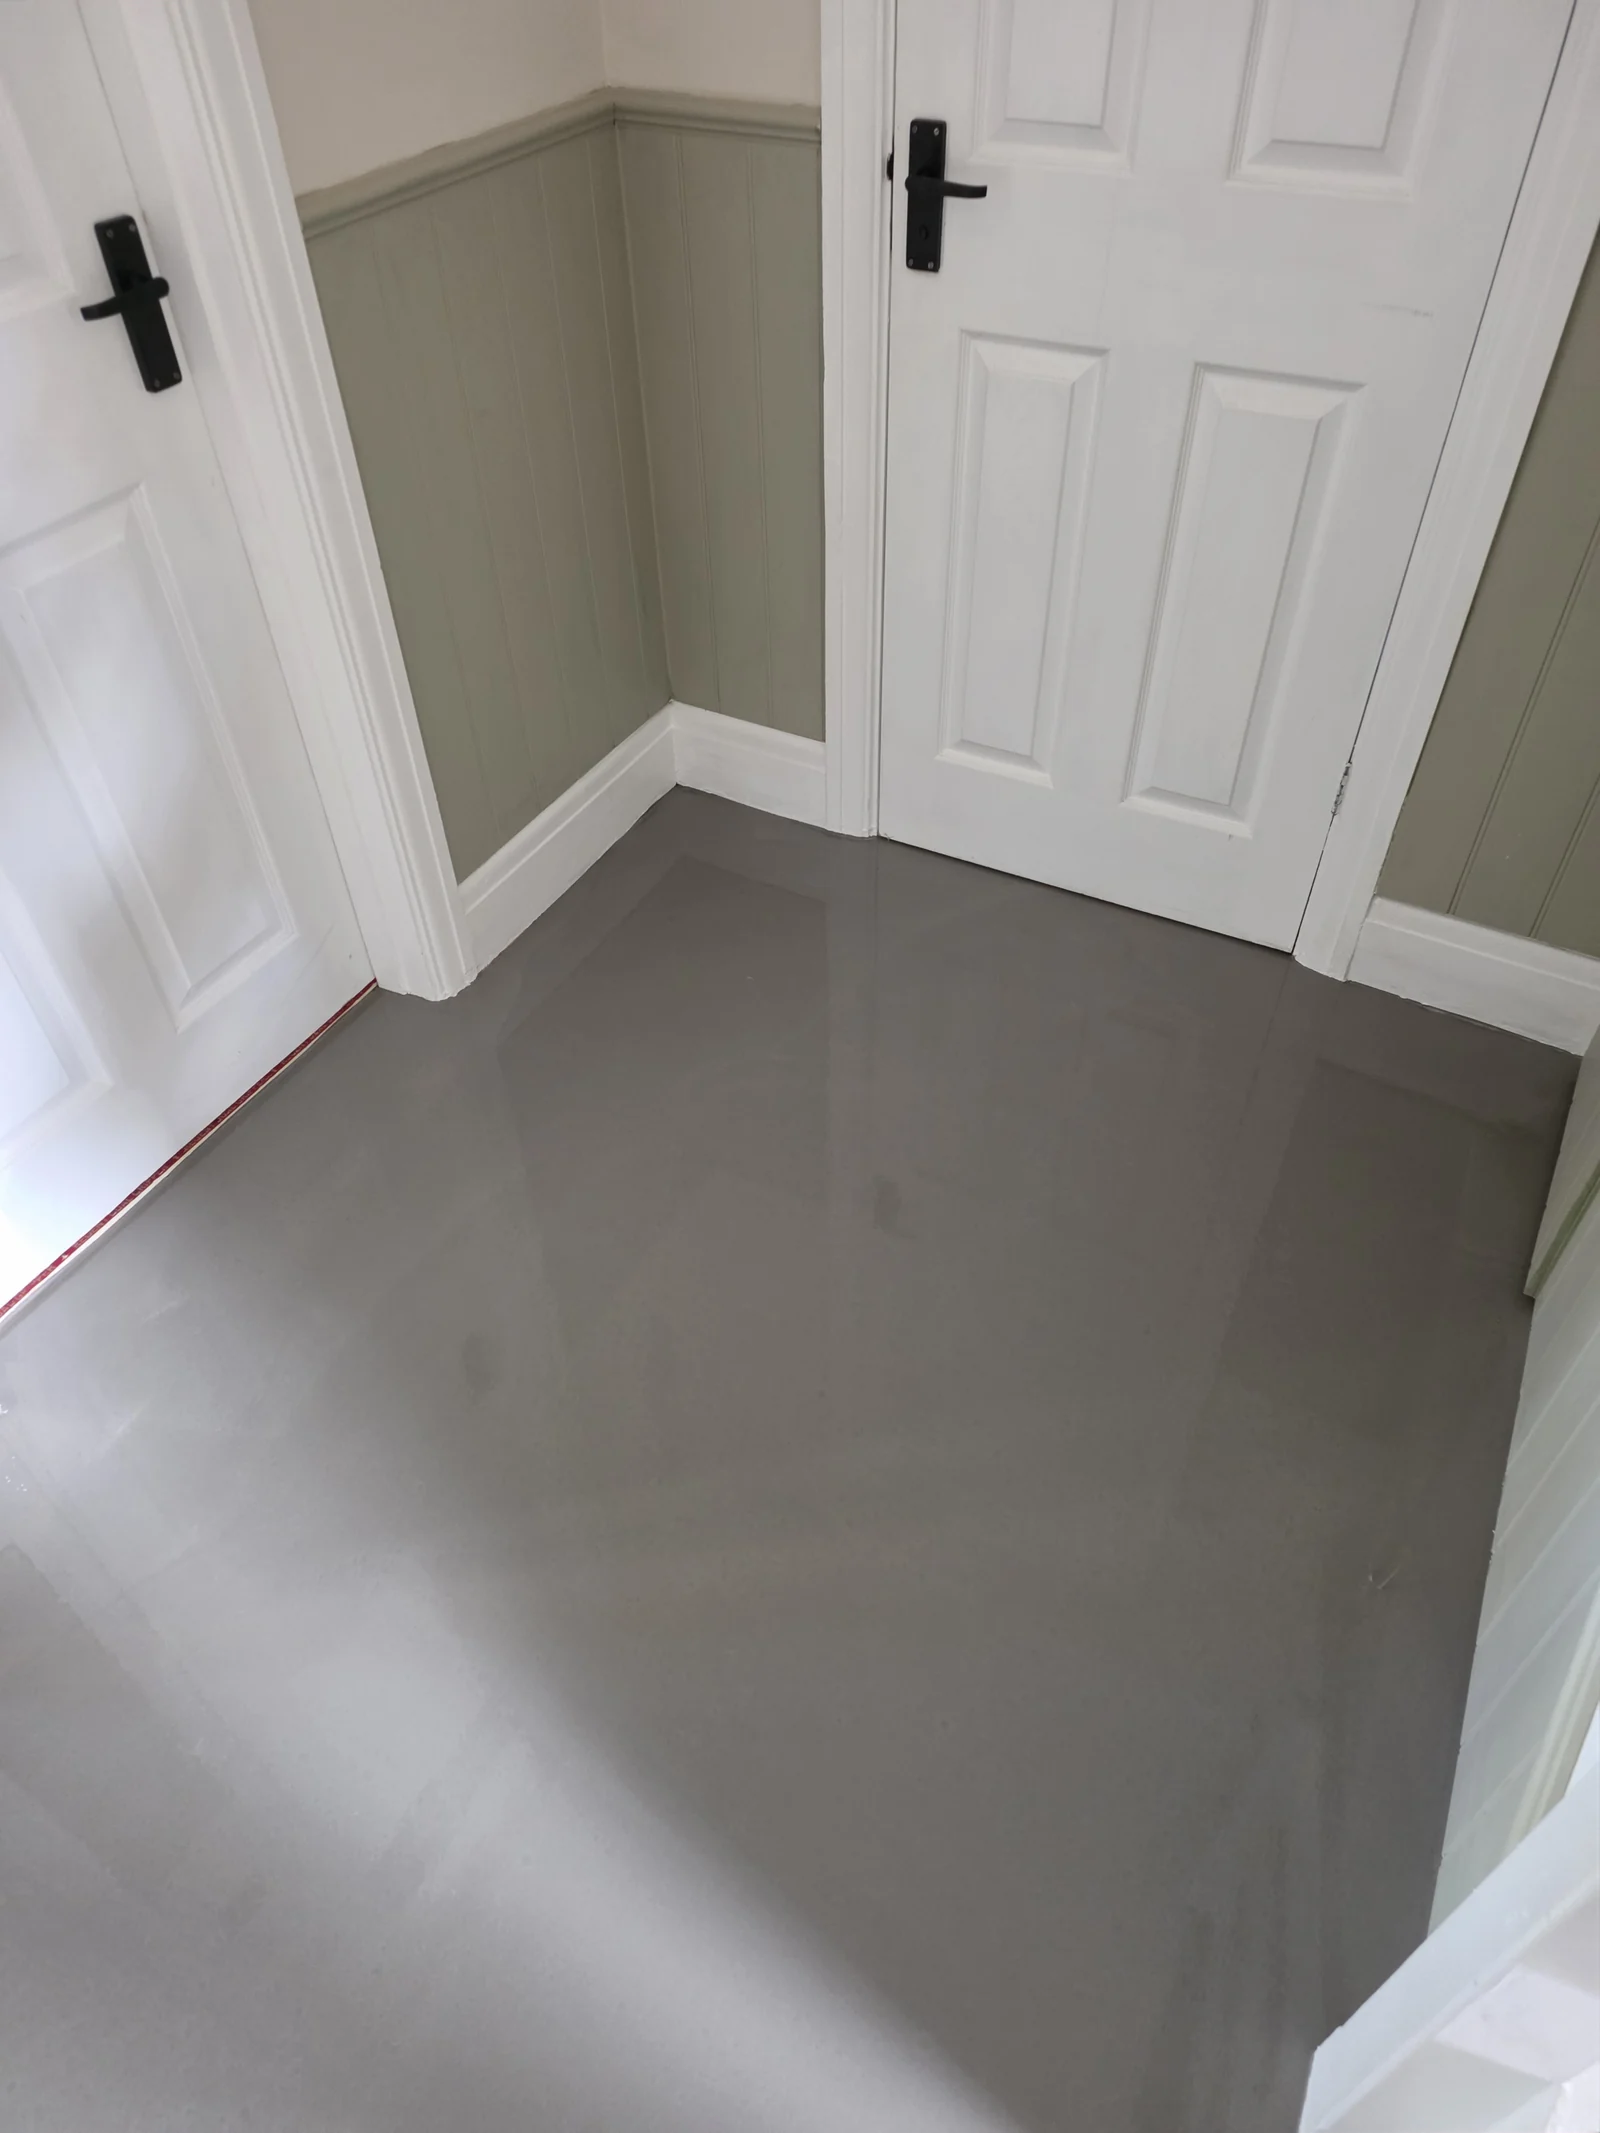
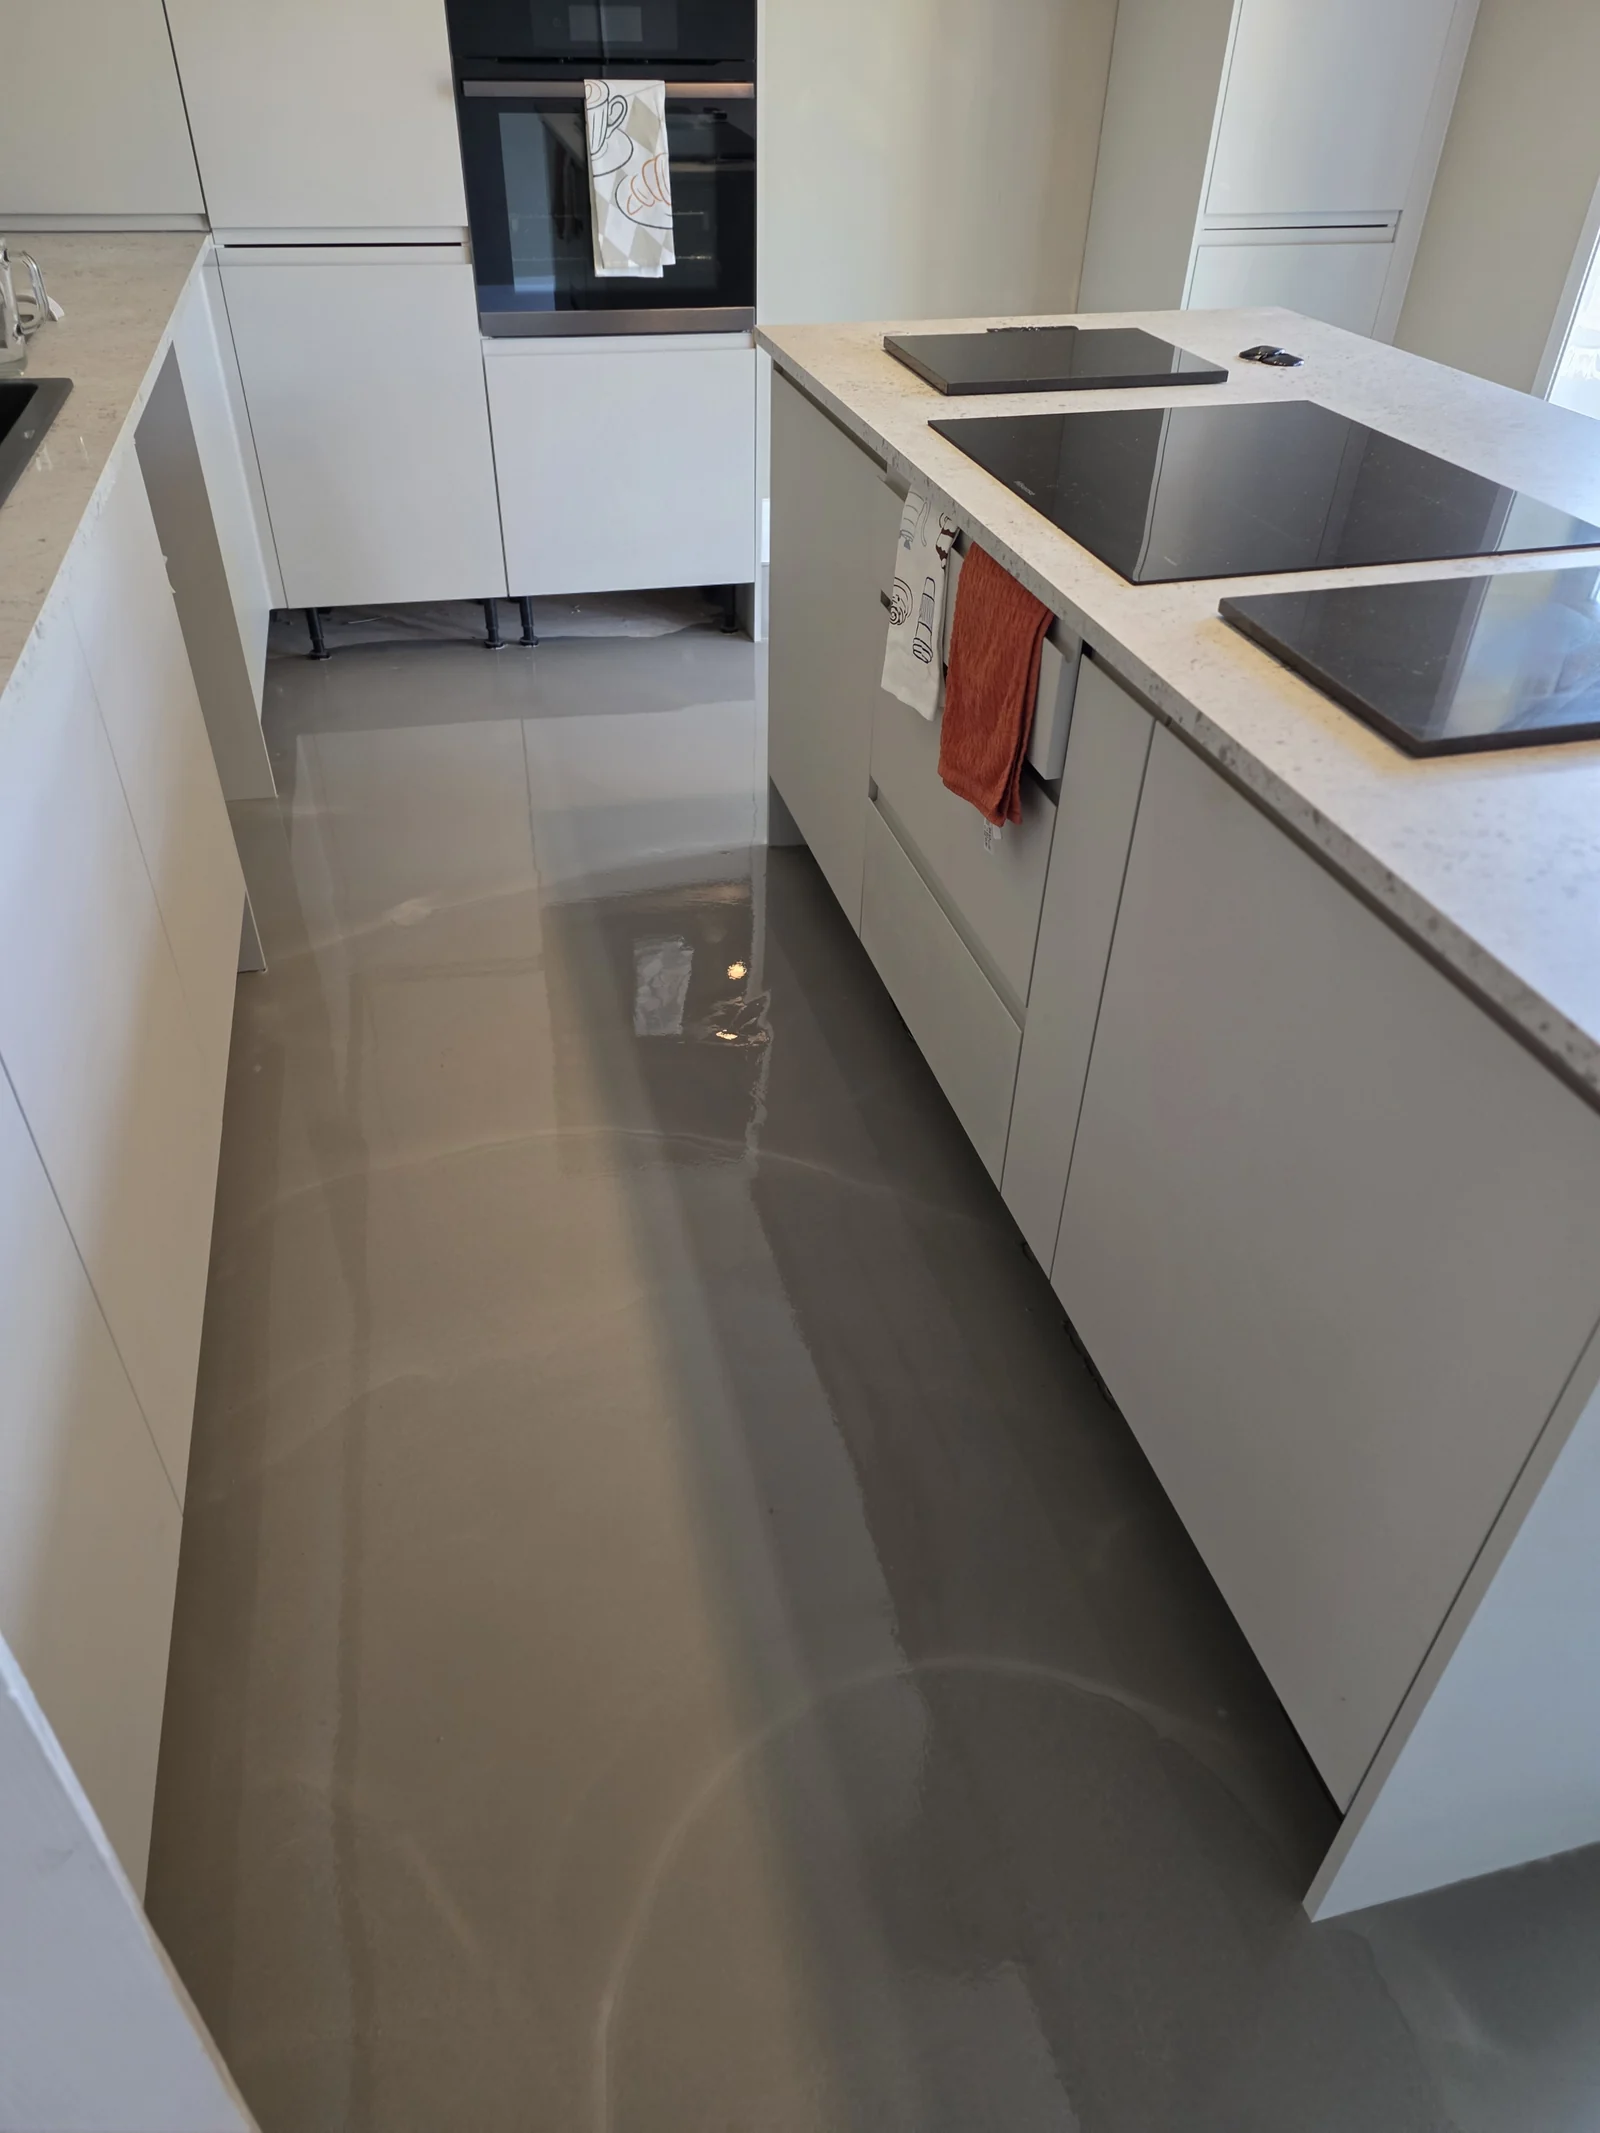
These four photographs show freshly applied smoothing compound in kitchen and hall areas before LVT was fitted. They are preparation photographs from Dan’s work. The original locations, dates, compound brands, depths and whether they all come from one job are not recorded, so each is shown on its own.
These four photographs show freshly applied smoothing compound in kitchen and hall areas before LVT was fitted. They are preparation photographs from Dan’s work. The original locations, dates, compound brands, depths and whether they all come from one job are not recorded, so each is shown on its own.
What the photographs show
Each photograph shows a smooth, freshly applied grey compound covering the floor before any finish goes down. You can see it running to the edges of the room, through doorways and around kitchen units.
They are not before-and-after pictures and not views of a finished LVT floor. A fresh, glossy surface does not tell you when the floor is ready for fitting.
Why LVT needs a smooth base
LVT is thin, so small dips, ridges and old adhesive can show through the surface over time or affect how the planks sit. A smoothing compound gives a flat, even base for the adhesive or click system.
What a survey checks
Before recommending preparation, Dan looks at the existing floor: whether it is concrete or timber, its level and condition, any old coverings or adhesive, and how doorways and thresholds will meet.
Moisture cannot be judged by looking at a floor. Where it matters, it is tested, and the primer, compound and adhesive are chosen as a compatible system following the manufacturer’s instructions, including when the floor is ready to cover.
Smoothing compound is not structural screed
The preparation shown here is a smoothing or self-levelling layer to create a good surface for the floor finish. Structural or pumped screed is different building work and is not advertised as part of this service. If a floor needs more than surface preparation, Dan will explain that at survey.
Planning your own floor
Send photographs of the current floor, approximate room sizes and the flooring you are considering. Preparation is listed clearly in the quote so you know what is included.
Preparation project photographs
Separate photographs of subfloor smoothing before LVT, not a before-and-after sequence or a finished floor.
Common questions
Are these photographs from one job?
That is not confirmed. Each photograph is shown individually as an example of preparation before LVT.
Can you tell when compound is dry by looking at it?
No. Readiness depends on the product used and site conditions, and follows the manufacturer’s instructions.
Does every floor need smoothing compound?
Not always. It depends on the existing floor and the finish chosen. Dan checks this at survey and explains the recommendation.
Is smoothing compound the same as structural screed?
No. The preparation described here is smoothing and self-levelling before a floor finish; it is not structural or pumped screed, which is not advertised as part of this service.
Get a free flooring quote
Call Dan directly or email the details of your room, flooring and location.